I used to think making my bedroom look expensive meant spending a lot of money. Then I moved into my first apartment with a shoestring budget and a lot of stubborn hope. Honestly, the best budget bedroom decor ideas came from mistakes and late-night thrift store trips. And you know what? My room now gets compliments like it cost ten times what I actually paid. If you’re looking for budget bedroom decor that feels high-end without the price tag, I’ve got you covered with real things that actually worked for me.
Thrifted Nightstand Makeover With Matte Black Paint
Ok so I found a pair of nightstands at Goodwill for twelve bucks each. They were ugly. I mean, that scratched oak veneer with gold plastic handles? Hideous. But the bones were solid. Here’s the thing: matte black paint can transform almost anything. I sanded them lightly, used a tack cloth, and sprayed them with Rust-Oleum matte black (the one for furniture, not the cheap stuff). Took me an afternoon. Cost about ten dollars for two cans.
Now they look like something from a boutique hotel. A weird detail: one of them had a weird sticky residue on top from a spilled candle that I couldn’t fully remove. So I put a small vase on it. Problem solved. Don’t be afraid of painting over thrifted furniture, even if it’s laminate. Just use a bonding primer first. That’s it. That’s the whole secret.
- Look for solid wood frames, even if the finish is wrecked
- Matte black hides flaws way better than white or gloss
- Swap original knobs for simple brass or black pulls from Amazon (like ten dollars for a set of six)
DIY Fabric Headboard on a Dime (Under 40 Bucks)
I wanted a headboard so bad, but new upholstered ones start at like three hundred dollars. So I built one. Not gonna lie, it was slightly annoying to staple the fabric straight, but the result is genuinely good. I bought a 4×6 sheet of plywood from Home Depot for fifteen dollars. Then I bought a cheap mattress topper (the thin kind) for ten bucks at a discount store. A yard of velvet-looking fabric from Fabric Wholesale Direct cost me twelve dollars. Total: thirty-seven dollars.
I cut the plywood to 60 inches wide by 30 inches tall. Laid the foam on top, wrapped the fabric, and secured it with a staple gun on the back. That’s literally it. Then I mounted it to the wall using z-clips so it stays flush. Now my bed has a headboard that looks like Restoration Hardware. But less. Way less. One weird thing: I bought a white fabric first, got it home, realized it was the same color as my dog’s fur, and returned it. Go dark gray or navy for that expensive vibe.
Also, a pro tip: iron your fabric before you staple. I didn’t. Now there’s a permanent wrinkle that drives me crazy. Don’t be me.
IKEA Hack Dressers That Actually Look Custom
Ikea hack dressers are everywhere online, but most of them require cutting wood and buying a million supplies. I wanted a cheap version that still looked custom. So I took the basic Malm dresser (the six-drawer one, around 150 dollars) and made two changes. First, I replaced the standard plastic knobs with metal ones from Etsy. Second, I painted just the drawer fronts. Not the whole thing. Here’s the trick: I used a gray wash, not solid paint. I watered down some leftover matte paint and wiped it on with a rag. It soaked into the cheap laminate unevenly, creating a subtle wood-grain effect that looks intentional.
People ask me where I bought the dresser. I don’t say Ikea. I just smile. Look, it’s not perfect. If you stare close enough, you can see the old white peeking through in spots. But from across the room? It looks like a custom piece that cost six hundred dollars. The whole project cost maybe twenty bucks on top of the dresser. You can also swap the legs for hairpin legs from Amazon (twenty dollars) to elevate it further, but I left mine on the floor because I have a fluffy rug and I didn’t want the legs to sink. That’s a weird real concern.
Small Swaps: Curtain Rods and Flea Market Mirrors
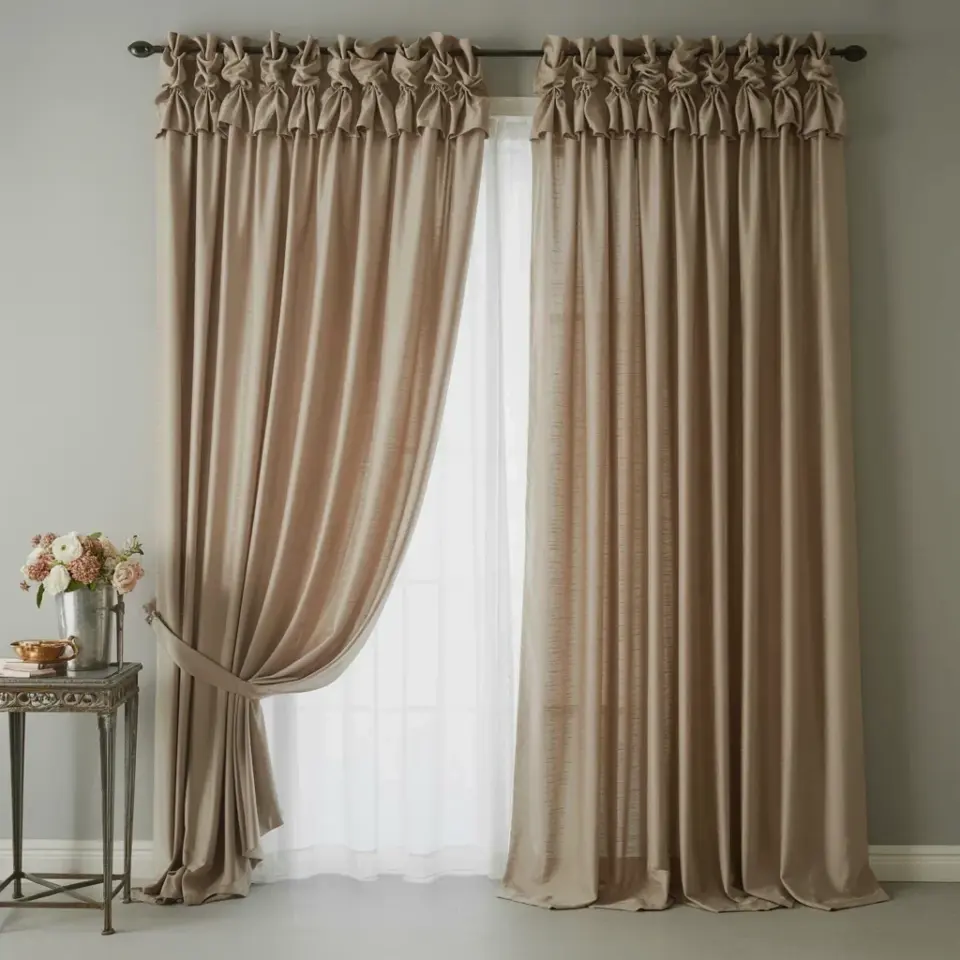
Never underestimate the power of changing out your curtain rods. Seriously. The cheap white tension rods that come with apartments are an instant “I’m broke” signal. I bought a simple black wrought-iron rod from Target for eighteen dollars. And I bought grommet curtain panels in a dark charcoal linen-look fabric (twenty dollars for a pair). That one swap changed the entire feel of the room. It made the window look bigger and more intentional. Also, I hung the rod higher than the window frame. Like four inches above. It tricks the eye into thinking the ceiling is higher. Works every time.
Then there’s the mirror. I found a huge ornate mirror at a flea market for thirty dollars. It had a chipped gold frame. I painted it matte black (yes, again) and hung it opposite the window. It reflects light, makes the room feel double the size, and looks expensive because of the intricate detailing. Nobody notices the chips because the black paint hides everything. A mirror like this new would be over two hundred dollars. You just have to be patient at flea markets and estate sales. Or check Facebook Marketplace for “vintage mirror” and scroll past the ugly ones.
Honestly, if you only do two things: upgrade your curtain rods and add a large mirror. That’s it. That will fool most people.
Cheap Tricks for Art, Lighting, and Bedding That Look Expensive
Let’s talk about the smaller stuff that finishes a room. First, art. Do not buy those generic canvas prints from big-box stores. They scream “dorm room.” Instead, I buy vintage book pages from Etsy (three dollars each), frame them in cheap black frames from the dollar store, and arrange them in a cluster. Or I take photos on my phone, edit them in black and white, and print them at Walgreens for thirty cents each. Frames make everything look intentional. Even a postcard in a nice frame looks like art.
Lighting? I got a floor lamp from a garage sale for five dollars. It was brass and hideous. I spray-painted it matte black (sensing a trend?) and put a smart bulb in it that changes color temperature. Warm white at night, cool white during the day. Total cost maybe fifteen dollars. It makes the room feel layered and cozy. No overhead lights ever. That’s a rule. Overhead lights are for interrogation rooms, not bedrooms.
Bedding is where people overspend, but you don’t have to. I bought a white duvet cover from Target’s Threshold line (forty dollars) and paired it with a textured knit throw from HomeGoods (fifteen dollars). The trick is mixing textures, not colors. A linen-ish duvet plus a chunky knit throw plus velvet pillows (from TJ Maxx, ten dollars each) looks way more expensive than it is. And white bedding always looks high-end, even if it’s cheap. Just wash it with bleach sometimes. Otherwise it gets dingy. That’s a real tip.
Also, a random thing: I put a small tray on my nightstand to hold my phone and a glass of water. Cost three dollars at a thrift store. It makes the nightstand look styled instead of cluttered. Tiny details, huge difference.
Final Thoughts: Go Slow, Have Fun, Don’t Stress
The best part of decorating on a budget is that you can make mistakes without crying. I painted a dresser once and it turned out streaky. So I just painted it again. No big deal. Thrift stores and garage sales are goldmines if you visit them regularly. And honestly, the imperfections from a thick coat of matte black paint or a slightly crooked staple on a headboard give your room personality. It’s not a showroom. It’s your room. And it should feel like you.
If you try one thing from this list, start with the headboard. It’s the biggest visual payoff for the least money. Or maybe the mirror. Or the curtain rods. Anyway, go make your bedroom look way more expensive than it is. You’ve got this. Save this pin for when you’re thrifting and need a reminder that cheap doesn’t have to look cheap.
#BudgetBedroom #AffordableDecor #BedroomMakeoverOnABudget #DIYBeadroom #ThriftedHome
Leave a Comment