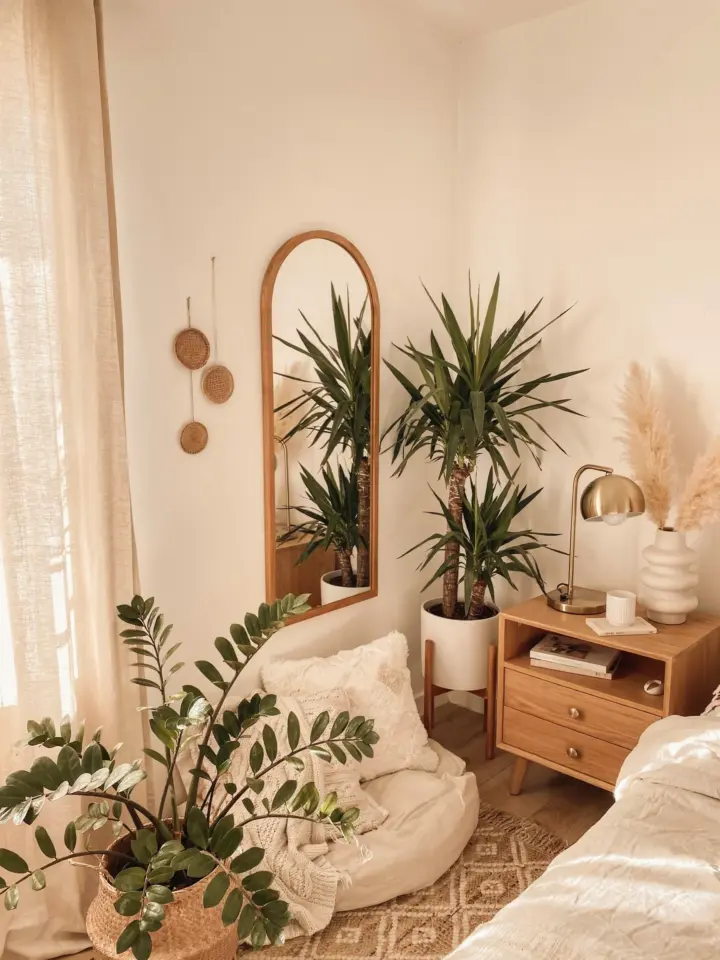
You have seen those dreamy bohemian interiors on Pinterest and wondered how to get that effortless celestial look without spending a fortune. A Moon Phase Garland with a hammered finish is the piece that makes the whole space feel intentional. It adds texture, warmth, and a quiet nod to the night sky. And the best part? You can style it in your own bedroom in under ten minutes. This guide walks you through exactly how to choose, hang, and layer that moon wall hanging so it feels like it belongs to you, not a catalog.
Why a hammered finish matters for your moon wall hanging
Not all metal wall decor feels cozy. Shiny, polished surfaces can look cold or too modern for a relaxed bohemian bedroom. A hammered finish changes everything. The tiny dents catch the light softly, creating subtle shadows that mimic the texture of the actual moon. I have seen cheap garlands that look flat and fake, but a hammered finish adds depth without being fussy. It also hides small fingerprints, which matters if you touch it often or have kids around.
When you shop for a moon phase garland, run your finger over the metal. If it feels smooth like a mirror, keep looking. You want that slight roughness that makes the piece feel handmade. The hammered texture also helps the garland blend with macrame, linen, or chunky knit throws. It adds a tactile quality that flat metal simply cannot deliver.
Step 1: Choose the right moon phase garland for your wall
Before you grab the first bohemian wall decor you see, think about your wall space. A long garland with five to seven moons works best above a bed or a low console table. A shorter garland with three moons fits nicely between two windows or above a small reading nook. Measure the width of your wall first. You want the garland to span about two-thirds of that width, not the entire thing. Too wide and it looks overwhelming; too narrow and it feels like an afterthought.
Also consider the color of the metal. Unfinished copper or brass fits warm tones, while dark iron or black works with cooler palettes. Silver or white gold feels more airy and dreamy. I personally lean toward antique brass because it ages beautifully and picks up warm evening light. But choose what matches your existing bohemian decor, not what is trending right now.
- Measure your wall width and mark the center.
- Pick a garland that covers roughly two thirds of that width.
- Select a metal finish that complements your room’s warm or cool tones.
- Check the hanging hardware: small nails or adhesive hooks work best for lightweight garlands.
Step 2: Find the ideal spot for your moon wall hanging
The magic of a moon phase garland happens when it is not isolated. Place it where it can interact with other elements. Above your bed is the most common spot, but also consider the wall opposite a window. When moonlight or streetlight hits the hammered finish at night, it creates a soft glow that no lamp can replicate. I hung mine above a small rattan chair in the corner, and it completely changed how that corner felt after sunset.
Another great spot is inside a gallery wall. Mix the garland with woven baskets, dried pampas grass, and a small mirror. The curved shapes of the moons soften the straight lines of frames. Just make sure the garland is not crowded. Leave at least three inches of empty space around each moon so the hammered texture can breathe. If you have a sloped ceiling, hang the garland so the lowest moon hangs at eye level. That keeps the focus on the celestial shapes rather than the architecture.
Step 3: Hang your bohemian wall decor with zero damage
You do not need a power drill for this. Most moon phase garlands come with a simple string or chain, so you only need one or two small nails or adhesive hooks. I recommend using clear 3M command hooks rated for two pounds. They hold the garland securely and peel off cleanly when you move. Find the center point of your garland (usually where the largest moon sits) and match it to the center of your chosen spot. That ensures the whole piece hangs symmetrically.
If your garland has separate moons spaced along a cord, you might need to adjust the spacing after hanging. Gently slide each moon along the cord until the distances feel even. Do not pull too hard, the hammered finish can sometimes scratch if the cord is rough. Once the spacing looks good, step back and check from different angles. The trick is to make sure the moons do not overlap or tilt awkwardly. A little tilt can look charming, but too much looks sloppy. A quick adjustment with a pair of pliers on the jump rings (if your garland uses them) fixes any rotation.
Step 4: Layer your moon phase garland with other textures
A single garland is lovely, but layering makes it feel like real bohemian decor. I like to pair the moons with a textured wall hanging made of macrame or woven cotton. The soft fibers contrast with the hard metal, and both benefit from the comparison. You can also place a small shelf below the garland and set a candle or a small plant on it. The warm orange flame or the green leaves break up the metal and add life.
If you have a headboard with a natural wood finish, let the garland overlap the headboard slightly. That creates a sense of depth rather than just hanging flat against the wall. Another idea that surprised me: drape a thin string of warm fairy lights behind the garland. The soft light catches the hammered texture from behind and throws moon shaped shadows on the wall. Just be careful with the wiring and use battery operated lights to avoid visible cords.
Step 5: Style your cozy bedroom inspo around the moons
Now that your moon wall hanging is up, build the rest of the room around that celestial vibe. Use bedding in deep blues, muted grays, or cream. Add one or two throw pillows with star or crescent patterns, but keep it subtle. You do not want a theme park, just a cohesive feeling. A chunky knit blanket in oatmeal or charcoal grounds the look. The hammered finish of the garland
#moonphasegarland #bohowalldecor #hammeredfinish #moonwallhanging #bohemiandecor
Leave a Comment